
Simple Steps to Configure CKEditor in TYPO3
TYPO3’s editing experience has come a long way. What once felt a bit limited has steadily evolved into something far more intuitive and flexible. A big part of this improvement is CKEditor 5, the modern Rich Text Editor now used in current TYPO3 versions.
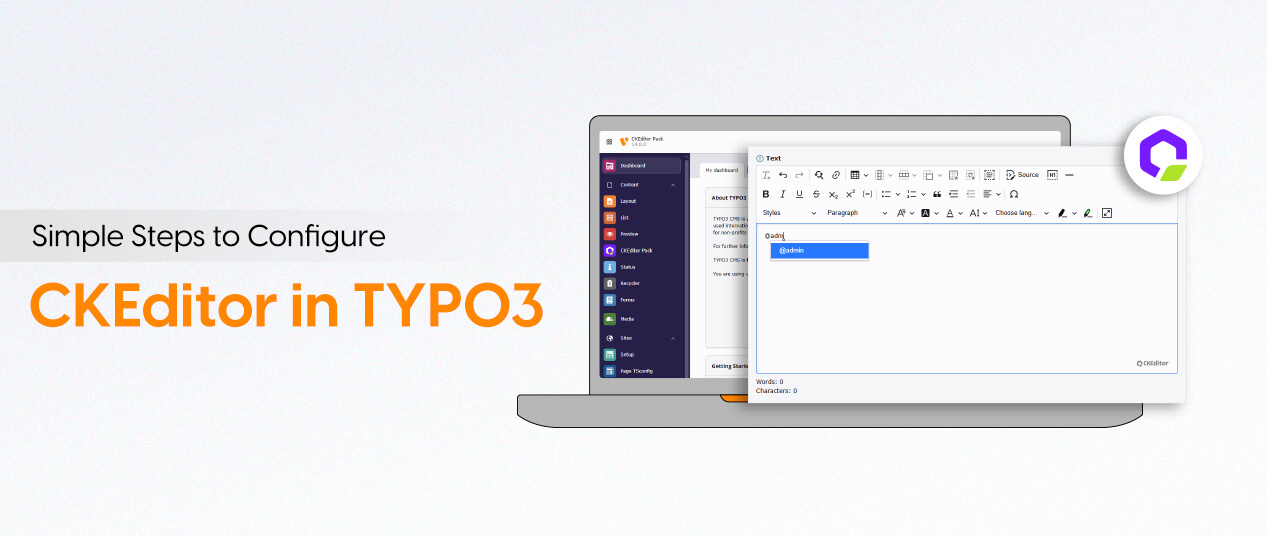
CKEditor 5 offers a clean interface, smooth performance, and the right balance between simplicity and useful features. Editors can focus on writing, and developers can shape the editing environment to match project needs through a modular and configurable setup.
Curious? Read further…
What is CKEditor?
CKEditor is a WYSIWYG RTE (Rich Text Editor) that permits the direct addition of JavaScript-based code within online applications or web pages. It can be procured under commercial and open source licenses.
In current TYPO3 versions, the system extension rte_ckeditor provides CKEditor 5 as the standard solution for rich-text editing. It replaces the older rtehtmlarea editor, which has been removed from modern TYPO3 releases.
CKEditor 5 is built on a modular, plugin-driven architecture. Every feature, from basic text formatting to tables, links, or media tools, is handled through plugins that developers can enable, disable, or extend.

YAML – The Configuration File Format
TYPO3 uses YAML files to configure CKEditor because YAML is simple, readable, and well-structured. It’s easy for developers to override or extend only the parts they need, without rewriting everything from scratch.
A typical CKEditor setup in TYPO3 is split into smaller YAML files. Each file focuses on a specific area of configuration:
- Processing rules – how TYPO3 filters, cleans, and stores HTML
- Base editor settings – toolbar, formatting options, behaviour
- Plugins – feature loading and custom enhancements
YAML depends heavily on indentation and key–value structure, making it both human-friendly and easy to version-control. TYPO3 handles modular configuration using the imports: keyword so you can reuse core settings and extend them safely.
Basic YAML Structure in TYPO3
# File: EXT:site_package/Configuration/RTE/Custom.yaml
imports:
- { resource: "EXT:rte_ckeditor/Configuration/RTE/Processing.yaml" }
- { resource: "EXT:rte_ckeditor/Configuration/RTE/Editor/Base.yaml" }
- { resource:
"EXT:rte_ckeditor/Configuration/RTE/Editor/Plugins.yaml" }
editor:
config:
toolbar:
- [ 'bold', 'italic', 'underline' ]
- [ 'link', 'unlink' ]
- '/'
- [ 'numberedList', 'bulletedList' ]
stylesSet:
- { name: "Highlight", element: "span", attributes: { class:
"highlight" } }
Registering Your YAML Preset in TYPO3
// ext_localconf.php
$GLOBALS['TYPO3_CONF_VARS']['RTE']['Presets']['custom'] =
'EXT:site_package/Configuration/RTE/Custom.yaml';
TYPO3 automatically loads and merges these YAML files, making CKEditor completely in control of how it behaves.
Default Presets in TYPO3’s CKEditor
TYPO3 generally provides three commonly used presets:
- Minimal: Very simple configuration with basic formatting tools. Suitable for simple input forms, such as titles or teasers.
- Default: The standard editor used in most TYPO3 installations. The balanced toolbar, common formatting options, and clean filter rules.
- Full: A more feature-rich preset with advanced formatting and additional tools. Often used for content-rich fields.
These presets influence key areas of the editor:
- Toolbar layout
- Formatting tools and block-level elements
- Allowed tags and attributes
- Content filtering
- Plugin availability
These presets act as a starting point. From here, developers often extend or replace them with their own custom YAML presets to match the requirements of the project.
What do These Presets do?
Presets in TYPO3’s CKEditor define how the editor looks and behaves. They control which tools are available, how content is filtered, and which plugins are loaded. In short, a preset sets the rules and capabilities for editors.
Configuring CKEditor Presets in TYPO3

TYPO3 allows you to set CKEditor presets worldwide or for specific fields, making sure to fully customize the editing experience.
Assign a Preset Globally
RTE.default.preset = default
This applies to all rich-text fields in the TYPO3 Backend.
Assign a Preset to a Specific Content Element
RTE.tt_content.types.textmedia.bodytext.preset = minimal
This means that the toolbars and functions are only displayed for this content type if the content type has the specified toolbar and functions.
Assign a Preset to an Extension Field
RTE.config.tx_news_domain_model_news.bodytext.preset = full
This process ensures editors have the tools necessary for their work and developers have a clean and manageable configuration.
Creating a Custom CKEditor Configuration (Modern Approach)

In a custom configuration, you can change the toolbar, styles, plugins, content rules, and modern features like drag-and-drop media handling.
Step 1: Define Your YAML File
Create a YAML file inside your site package or extension:
# EXT:site_package/Configuration/RTE/Custom.yaml
imports:
- { resource: "EXT:rte_ckeditor/Configuration/RTE/Processing.yaml" }
- { resource: "EXT:rte_ckeditor/Configuration/RTE/Editor/Base.yaml" }
- { resource:
"EXT:rte_ckeditor/Configuration/RTE/Editor/Plugins.yaml" }
editor:
config:
toolbar:
- [ 'bold', 'italic', 'underline' ]
- [ 'link', 'unlink', 'anchor' ]
- '/'
- [ 'numberedList', 'bulletedList', 'indent', 'outdent' ]
stylesSet:
- { name: "Highlight", element: "span", attributes: { class:
"highlight" } }
Step 2: Register the Preset in TYPO3
Add this to ext_localconf.php:
$GLOBALS['TYPO3_CONF_VARS']['RTE']['Presets']['custom'] =
'EXT:site_package/Configuration/RTE/Custom.yaml';
Step 3: Assign the Custom Preset
RTE.default.preset = custom
Structure of a TYPO3 RTE YAML Preset File
The YAML preset TYPO3 CKEditor YAML is usually split into three parts:
1. Processing Rules – Understand the way content is cleaned and filtered before saving.
imports:
- { resource: "EXT:rte_ckeditor/Configuration/RTE/Processing.yaml" }
2. Base Editor Settings – Control toolbar layout, font type and default style.
editor:
config:
format_tags: "p;h1;h2;h3;pre"
toolbarGroups:
- { name: styles, groups: [ styles, format ] }
3. Plugins and Features – New or remove tools, configure the allowed HTML, and load additional plugins.
editor:
config:
extraPlugins:
- justify
removeButtons:
- Anchor
- Underline
Note: CKEditor 5 is more modular than CKEditor 4, making YAML configurations cleaner, easier to manage, and more flexible for modern TYPO3 projects.
Managing Modern CKEditor Options in TYPO3

TYPO3 provides a very strong control of CKEditor features, toolbar, styles and plugins to make your editing experience personalized.
Formatting Options
Define which HTML elements editors can use:
editor:
config:
format_tags: “p;h1;h2;h3;pre;div”
Toolbar Customization
Logically group buttons and simplify the interface:
editor:
config:
toolbarGroups:
- { name: clipboard, groups: [ clipboard, undo ] }
- "/"
- { name: styles }
Custom Styles
Add CSS classes for specific formatting needs:
editor:
config:
stylesSet:
- { name: "Quote", element: "p", attributes: { class:
"quote-style" } }
- { name: "Button", element: "a", attributes: { class: "btn" } }
Plugin Management
Enable or disable features as needed:
editor:
config:
extraPlugins:
- justify
removePlugins:
- image
removeButtons:
- Anchor
- Underline
- Strike
CSS Integration
Use contentsCss to apply backend styles that match the frontend for an accurate preview.
By carefully managing these options, you can create an editor that is simple for editors to use but powerful enough for complex content workflows.
Default RTE Configuration in TYPO3 Core (Updated Overview)
A default configuration feature is balanced formatting, clean content filtering, and the essential plugins to ensure consistent output. Developers can then build their own preset from these YAML files, if they have more than one copy.
Core Default Import Structure
imports:
- { resource: "EXT:rte_ckeditor/Configuration/RTE/Processing.yaml" }
- { resource: "EXT:rte_ckeditor/Configuration/RTE/Editor/Base.yaml" }
- { resource:
"EXT:rte_ckeditor/Configuration/RTE/Editor/Plugins.yaml" }
Core Editor Configuration Example
editor:
config:
format_tags: "p;h1;h2;h3;h4;pre"
toolbarGroups:
- { name: styles, groups: [ styles, format ] }
- { name: basicstyles }
- { name: paragraph, groups: [ list, indent, align ] }
- { name: links }
- { name: clipboard }
- { name: editing }
- { name: insert }
Most projects extend this base rather than override it completely, ensuring compatibility and reducing maintenance.
Migrating from Old TYPO3 RTE (htmlArea or older CKEditor versions) to Modern CKEditor
If you're upgrading from older TYPO3 versions that used htmlArea RTE or earlier CKEditor setups, the migration to CKEditor 5 requires a few considerations to avoid content or formatting issues.
Recommended Migration Workflow
1. Review existing RTE settings
Check existing PageTS and TypoScript configurations. Select custom buttons, classes and allowed tags.
2. Create a matching CKEditor preset
When possible, print the previous editing capabilities back to YAML.
Example for matching an old toolbar:
editor:
config:
toolbar:
- [ 'Bold', 'Italic', 'Underline' ]
- [ 'JustifyLeft', 'JustifyCenter', 'JustifyRight',
'JustifyBlock' ]
- [ 'NumberedList', 'BulletedList', 'Indent', 'Outdent' ]
3. Enable required plugins
Older editors now have CKEditor 5 plugins. Then only do what you need.
4. Test content fields in the backend
Open old texts so that formatting remains. Save again so that TYPO3 can clean up legacy markup.
5. Clean up inconsistent HTML
Remove unwanted tags or inline styles that CKEditor no longer supports.
Advanced Content Filtering
CKEditor’s filtering system ensures editors produce clean, consistent HTML. TYPO3 adds its own processing on top, so together they keep unwanted tags and messy markup out of your content.
Core Idea
You explicitly define which tags, attributes, and classes are allowed. Everything else is removed.
Allowing/Blocking HTML
processing:
allowTags: [ p, a, strong, em ]
allowAttributes:
a: [ href, target ]
Pasted Content Cleanup
Filtering strips inline styles and unnecessary markup from copied content to keep the database clean.
processing:
htmlSanitizer:
removeInlineStyles: true
Conclusion
CKEditor has become a reliable part of the TYPO3 editing experience, giving editors a cleaner and more structured way to work with content. With thoughtful configuration, you can shape an editor that feels simple for your team while still supporting the needs of complex projects.
For developers, the modern YAML-based setup provides clear control over formatting, features, and filtering. And if you’re working with a TYPO3 agency, having a well-defined RTE setup makes collaboration smoother and keeps content consistent across the site.
A properly configured CKEditor leads to a better backend experience, fewer frontend issues, and a more stable TYPO3 project overall.
FAQs
Yes. You can assign different presets per field, per content element, or even per backend layout to match specific editing needs.
The recommended place is inside your site package or extension, usually under:
Configuration/RTE/
Yes. You can define allowed classes and expose them through style or format dropdowns.
Mostly yes. TYPO3 will clean and transform older markup as needed, but it’s good practice to review content for outdated inline styles or unsupported tags.
Yes. TYPO3 supports a wide range of CKEditor plugins. You can enable them in your YAML configuration as long as they are available in your installation.
Only if you connect the editor with your frontend styles, by default, CKEditor uses its own backend styling unless you include custom editor CSS.
Contact for Internet agency and TYPO3 projects
Sven Thelemann
Service Partner - Germany


Sven Thelemann
Client Service LeadSven Thelemann serves as the Client Service Lead at NITSAN, focusing on delivering TYPO3 solutions that meet client goals. With a strong understanding of technology and client expectations, he ensures smooth communication and project execution. Outside of work, Sven enjoys cycling and experimenting with homemade recipes.

Be the First to Comment